A leaking tub faucet may begin as an occasional drip, but it can gradually waste water, leave mineral marks, and indicate that an internal sealing component is worn.
The correct repair depends on where the water appears and which valve system the faucet uses. A drip from the spout often points to a worn cartridge, washer, O-ring, or valve seat. Water appearing around the wall opening or behind the trim plate may indicate a connection problem that requires faster attention.
Before disassembling the faucet, shut off the water supply and confirm that the flow has stopped.
A tub faucet can leak from more than one location.
A continuous drip after the handles are closed usually means that the valve is not sealing completely.
Possible causes include:
A worn rubber washer
A damaged O-ring
A scratched ceramic cartridge
Mineral buildup inside the valve
A worn valve seat
Incorrect cartridge installation
The faucet may still look normal from the outside even when the internal component has reached the end of its service life.
Water collecting around the handle or trim may come from a worn stem seal, packing nut, or cartridge O-ring.
This type of leak often becomes more noticeable while the faucet is running.
Damp drywall, staining, loose tiles, or water appearing below the bathtub may indicate a concealed plumbing leak.
Do not continue operating the faucet when water may be entering the wall cavity. Shut off the supply and arrange professional inspection.
Close the main water supply or the local shutoff valves serving the bathroom.
Open the faucet briefly to release remaining pressure. Cover the drain so screws and small components cannot fall into the waste pipe.
Prepare basic tools such as:
Screwdrivers
An adjustable wrench
A cartridge puller when required
A soft cloth
Replacement seals or cartridge
Plumber-approved lubricant
The faucet model information
Avoid using excessive force on decorative parts because plated surfaces can be scratched easily.
The handle may use a visible screw, a concealed set screw, or a decorative cap covering the fastener.
Remove the handle carefully and place all parts in order. Take a photograph before disassembly if the valve contains several washers, sleeves, and trim pieces.
Inspect the cartridge for cracks, flattened seals, mineral deposits, and uneven wear.
When replacing it, use a component that matches the valve body. A cartridge that looks similar may have different dimensions, port positions, or operating directions.
For a cartridge faucet, remove the retaining clip or nut and pull the cartridge straight from the valve body.
For a compression-style faucet, inspect the stem washer and valve seat. Replace hardened or damaged rubber parts rather than attempting to reuse them.
Light mineral residue may be removed with a soft cloth and a cleaner suitable for the faucet material.
Do not scratch the valve chamber with a metal tool. Damage inside the sealing area may prevent the replacement component from closing properly.
Apply only a small amount of plumbing lubricant approved for the seal material.
Ordinary grease, cooking oil, and petroleum-based products may damage some rubber components.
Reinstall the cartridge, retaining parts, trim plate, and handle in the correct order.
Turn the water supply on slowly. Test both hot and cold operation, then close the faucet and observe the spout for several minutes.
Check around the handle and wall opening for moisture.
Professional service is recommended when:
The valve body is damaged
The cartridge cannot be removed
Water is leaking behind the wall
The pipe connection moves during repair
The faucet is heavily corroded
Replacement parts cannot be identified
The leak continues after component replacement
A small internal repair can become a larger plumbing problem if excessive force damages the concealed pipework.
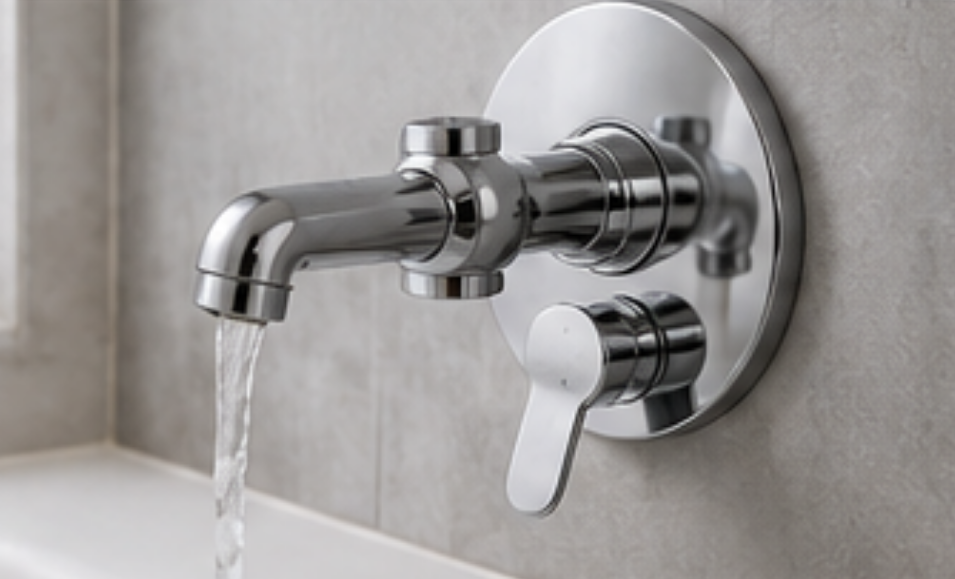
A Wall Mounted bathtub faucet should combine reliable internal sealing with components that can be serviced when normal wear occurs.
For project and wholesale purchasing, buyers should review the valve material, cartridge type, connection dimensions, flow requirements, surface finish, installation depth, and access for future maintenance.
Our team supplies bathtub, basin, shower, and bathroom faucet products for different market requirements. OEM and ODM specifications can include body structure, handle style, finish, packaging, and matching accessories.
Developing bathtub faucets for residential projects, hotels, distributors, or bathroom brands?
Send us your installation type, valve structure, connection standard, finish, flow requirement, packaging details, and purchasing quantity. We will prepare a suitable Wall Mounted Bathtub Faucet proposal.

 Mobile Phone:
 Phone:
 Contact Now