

Replacing an old or leaky shower faucet can modernize your bathroom and prevent water waste. While the process requires careful attention to detail, many homeowners can successfully complete it with the right tools and preparation. Always check local plumbing codes before beginning.
Safety First: Shut off the water supply at the main shut-off valve for the house. Release any remaining pressure by turning on the shower faucet until the water stops flowing.
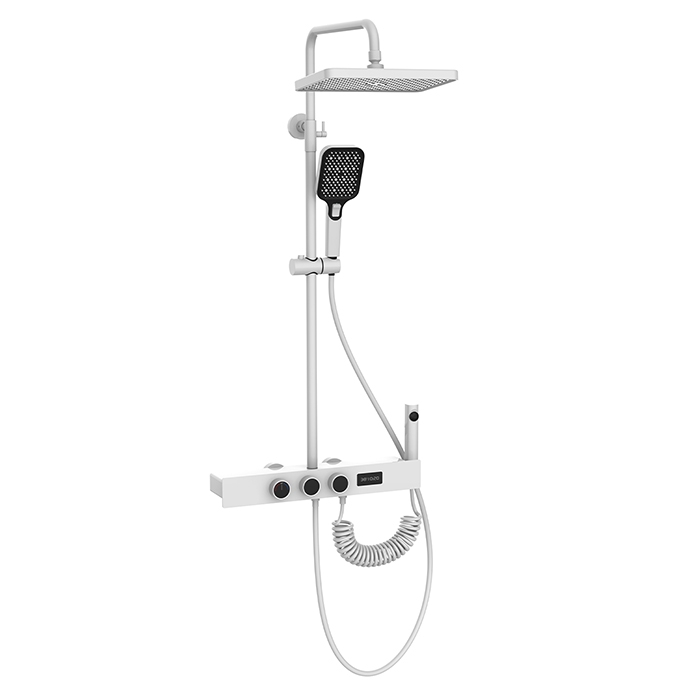
Tools and Materials Needed:
New shower faucet valve kit (trim and rough-in valve)
Adjustable wrenches or channel-lock pliers
Screwdrivers (Phillips and flat-head)
Pipe wrench
Tubing cutter (if cutting pipes)
Pipe tape (Teflon tape) or pipe joint compound
Safety glasses
Step 1: Remove the Old Faucet
Begin by removing the trim plate, handles, and escutcheon. There is usually a small screw hidden under a decorative cap on the handle. Once screws are removed, gently pull off the handle and trim to expose the valve. If you’re replacing the entire rough-in valve (the part behind the wall), you’ll need to open the wall from the back—often through an access panel in an adjoining room—to disconnect the plumbing.
Step 2: Prepare the New Valve
Compare the new rough-in valve with the old one to ensure it will fit the existing plumbing. Wrap Teflon tape or apply pipe joint compound clockwise on the threaded ends of the shower valve where the water lines will connect. This helps create a watertight seal.
Step 3: Install the Rough-In Valve
Connect the new valve to the existing hot and cold water supply lines. Use two wrenches: one to hold the pipe fitting steady and the other to tighten the new valve connections. This prevents twisting the pipes. Ensure the valve is level and oriented correctly according to the manufacturer’s instructions—especially the recommended height and showerhead alignment.
If the existing pipes don’t match the new valve, you may need to use transition fittings or cut and solder new connections (if working with copper). This is often a job best left to professionals if you lack experience.
Step 4: Mount the Valve
Secure the valve to the framing or backing board using the provided mounting brackets. This ensures it remains stable and doesn’t shift when the handle is turned. Double-check that the valve is flush with the finished wall surface once the wall is closed.
Step 5: Attach the Trim
After the rough-in valve is installed and the wall is closed (if necessary), it’s time to install the trim kit. Follow the manufacturer’s instructions to attach the escutcheon plate, handle, and showerhead adapter. Most modern kits use simple screw-on or clip-on designs. Avoid over-tightening the handle, as this can damage the cartridge or finish.
Step 6: Test for Leaks
Slowly turn the water supply back on. Allow the pipes to fill gradually, and check all connections for leaks. Turn the shower on and test both hot and cold water. Inspect the valve and connections from the access panel (if available) to ensure there are no hidden leaks.
When to Call a Professional
If you encounter:
Rusted or broken pipes
The need for soldering or major plumbing modifications
Difficulty matching old plumbing to the new valve
Uncertainty about valve placement or code requirements
It’s best to hire a licensed plumber. A properly installed shower faucet ensures years of reliable performance and water efficiency. Always follow the specific instructions included with your faucet model.
Previous: How To Change A Bathroom Faucet?

 Mobile Phone:
 Phone:
 Contact Now