

Water pressure plays a crucial role in delivering a satisfying and efficient shower experience. Whether your shower flow is too weak to rinse properly or excessively strong, adjusting the water pressure can help you achieve the ideal balance. This guide will walk you through practical steps to troubleshoot and adjust your shower head’s water pressure effectively.
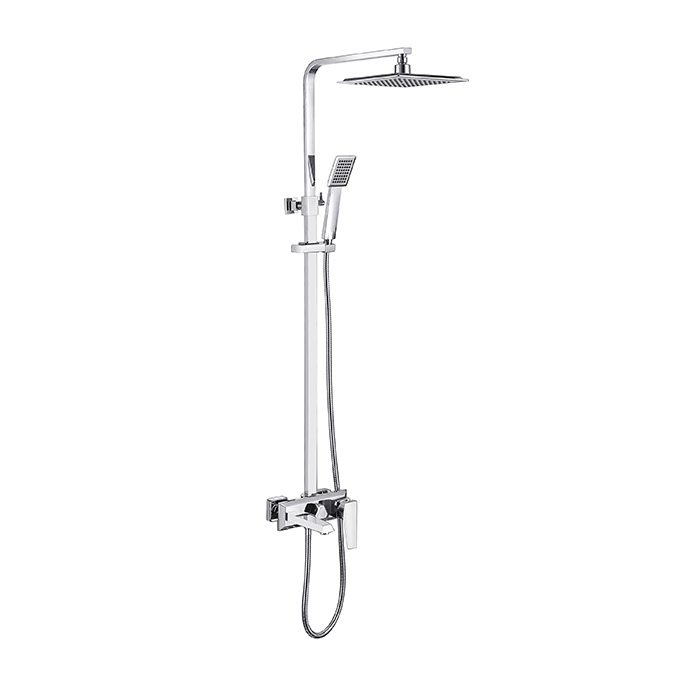
1. Identify the Type of Shower Head
Before making adjustments, determine what kind of shower head you have:
Fixed shower heads are mounted directly to the wall.
Handheld Shower Heads come with a hose and are often adjustable.
Rain shower heads typically have a wider surface area and may require specific pressure adjustments.
Low-flow or water-saving models are designed to restrict flow intentionally.
Understanding your shower head type will help you choose the right method for adjustment.
2. Check for Mineral Buildup
Mineral deposits from hard water are a common cause of reduced water pressure. Over time, these deposits can clog the nozzles, disrupting water flow. To clean your shower head:
Remove it from the Shower Arm (if possible) by unscrewing it counterclockwise.
Soak it in a mixture of equal parts water and white vinegar for several hours.
Use a soft brush or toothpick to clear any remaining debris from the jets.
Rinse thoroughly and reattach.
Regular cleaning every few months can prevent blockages and maintain optimal pressure.
3. Inspect the Flow Restrictor
Many Modern Shower Heads include a flow restrictor to conserve water. While beneficial for the environment, it can sometimes limit pressure more than desired. If you prefer higher pressure:
Locate the flow restrictor, usually a small plastic disk or ring inside the shower head inlet.
Carefully remove it with pliers or a screwdriver.
Reattach the shower head and test the water pressure.
Note: Removing the flow restrictor may increase water usage. Check local regulations before making this change.
4. Examine the Shower Valve
Some shower systems feature a pressure-balancing valve that regulates water flow and temperature. If your shower has this valve, it may need adjustment:
Locate the valve behind the handle or trim plate.
Refer to the manufacturer’s instructions for adjusting the pressure setting. In some cases, turning a screw or dial can increase flow.
If you’re unsure, consult a professional to avoid damaging the valve.
5. Test Household Water Pressure
Sometimes, the issue isn’t with the shower head but with the overall water pressure in your home. You can test this with a water pressure gauge:
Attach the gauge to an outdoor faucet or another fixture.
Ideal water pressure ranges between 40-60 psi (pounds per square inch). If it’s significantly lower, there may be a problem with your plumbing system or municipal supply.
Consider installing a water pressure booster if consistently low pressure is affecting multiple fixtures.
6. Upgrade Your Shower Head
If adjustments don’t yield the desired results, it might be time to replace your shower head. Look for models designed for high pressure or those with adjustable spray settings. Features like aerated or turbo sprays can enhance pressure perception without increasing water usage.
7. Consult a Professional
For persistent issues, such as sudden drops in pressure or leaks, contact a licensed plumber. There may be underlying problems like pipe corrosion, clogged pipes, or issues with the water heater.
Conclusion
Achieving the perfect water pressure in your shower is often a matter of simple maintenance or minor adjustments. By following these steps, you can enjoy a more comfortable and efficient shower experience. If you need further assistance, refer to your product manual or reach out to the manufacturer for model-specific guidance.

 Mobile Phone:
 Phone:
 Contact Now